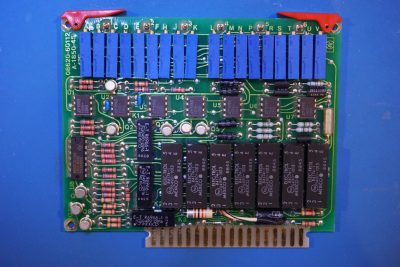
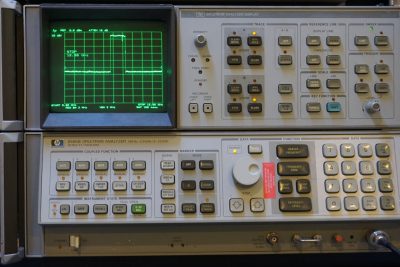
In my previous post, I did a teardown of an HP 8620C sweep generator along with an HP 86245A 5.9 GHz to 12.4 GHz RF plugin. A few of the plguin boards in the 8620C had leaked capacitors and also there seemed to be some sort of mechanical issue as no power was delivered to the transformer regardless of the power switch positions. So what I planed to do next was to restore the power to the unit and replace those bad capacitors and see if I could bring this sweep generator back to life.
The first thing I set off to investigate was why nothing happened when the power switch was engaged. At first I thought it might be a problem of the power entry module located towards the rear of the sweep oscillator (if you recall, the fuse was intact but the unit didn’t seem to get any power when the power was switched on). There doesn’t seem to be an easy way to gain access to the power entry module however and unfortunately the service manual did not mention anything about how to dissemble the backside of the unit. So I thought I would have to pretty much strip the whole thing down.
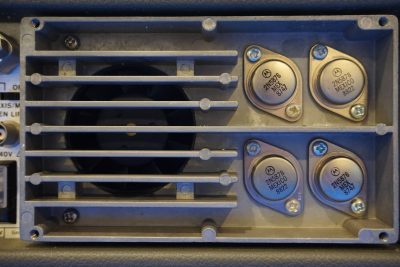
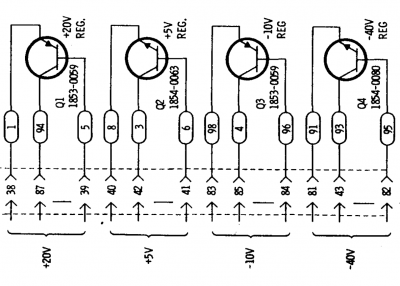
Soon after I started the process though I realized that I didn’t have to take off the rear panel after all as the wire from the power entry module goes directly to the switch. But I got to take a picture of the power transistors from the main linear regulators while I had the rear heatsink cover off.
|
|
And as it turned out, the issue prevented the unit from powering on initially was due to a faulty power switch. After some researching, it appeared that this was a pretty common problem for the push switches used inside the HP 8620C’s. Luckily, the oxidization state of the contacts in this switch weren’t that severe and I was able clean them by spraying with some electric cleaning solvent while repetitively pressing on the switch . The gap between the push button and the main switch housing was enough to let some of the sprayed-on the solvent in to do its job.
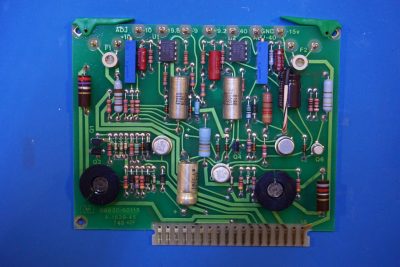
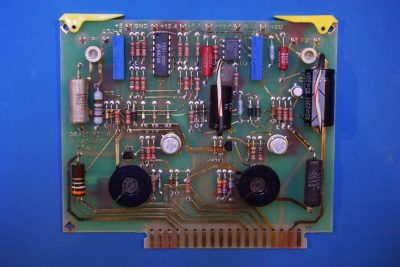
I did not try to power the unit on immediately after I fixed the switch as I still had to replace those corroded and failed capacitors inside. Here are a couple of pictures showing the power supply boards after those bad capacitors were replaced.
|
|
Originally, I was planing on replacing all the electrolytic capacitors, but some quick measurements on a few intact capacitors I removed from the circuit suggested that these electrolytic capacitors showed no sign of problems at all. Their capacitance was in line with the marked values and their ESR‘s were actually measured lower than the new Nippon Chemi-Con capacitors I was about to replace with. So I ended up leaving the good ones alone.
Here is a picture of the frequency control board, the only electrolytic capacitor towards the bottom showed signs of leakage so I replaced it.
Luckily, those were the only boards needed attention and I didn’t have to take the front panel boards out after all as it would have taken more effort.
With the power switch cleaned and leaky capacitors replaced, the HP 8620C powered on without any issue and I was able to confirm everything of this unit worked properly. Here is a picture showing the sweep from 9 GHz to 10 GHz persisted on the screen of my HP 8566B spectrum analyzer.
If you want to see this HP 8620C in action, please check out my video below:
