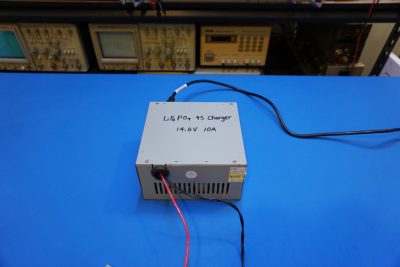
To charge the 110Ah battery bank I built, I need a power supply that can provide at least 10A at 14.6V. Since I have many old ATX power supplies lying around and the 12V rails of these power supplies are more than capable of providing 10A, I decided to modify one such power supply for using as a 4S LiFePO4 battery charger.
However, this modification is not as straightforward as just tweaking an output adjustment potentiometer. All ATX power supplies have some kind of voltage supervisory circuitry for monitoring the output voltage to prevent an over-voltage situation should a fault develop somewhere in the power supply. Once the output voltage drifts outside the allowed margin (typically 5% to 10%) the power supply would be automatically shutoff to prevent damage to connected components.
So to modify the a standard 12V power rail to 14.6V, we will need to disable the supervisor circuit. This is where it is getting tricky as different PSU manufacturers use different voltage supervisory techniques and there are at least a dozen dedicated ICs (e.g. TI’s TPS3511, ON Semiconductor’s NCP4350, etc.) for this purpose. But once you have identified the power supervisor chip, it is fairly easy to disable it by disconnecting the power good pin and pull it permanently low (or high depending on the chip).
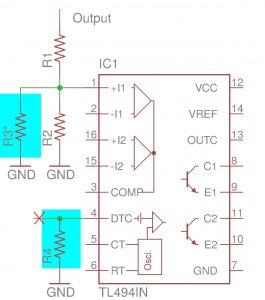
Some power supplies however, do not use dedicated power supervisor chips but rely on some other techniques for over-voltage protections instead. In the power supply I have (a rather generic DURO 400W power supply manufactured in 2003) for example, over-voltage protection is achieved by pulling the deadtime control pin on the PWM IC TL494 high when over-voltage is detected which effectively increasing the deadtime to 100% and thus disabling the output transistors. This technique is commonly used with PSUs that use TL494’s for regulating the output voltages.
To disable the over-voltage protection, we can simply cut the trace from the DTC pin (pin 4 of TL494, see schematics below) and put a 3.3K resistor (R4) between the DTC and ground. The value of the resistor is not critical. Because the DTC pin is no longer connected to the voltage comparator circuitry that monitors the output rails, we can proceed to adjusting the output voltage.
The output voltage is determined by
\[V_o=V_{REF}\left(1+ \frac{R_1}{R_2} \right)\]
Since we only care about the 12V rail voltage, we can simply lower the value of R2 by paralleling a resistor R3 till the desired output voltage is reached. For this PSU, I used 15K for R3 to achieve the 14.6 output voltage.
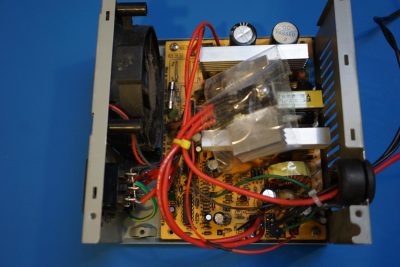
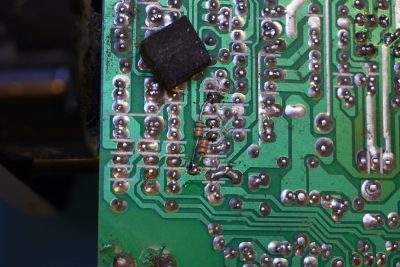
And here are a couple of pictures showing the added resistors to the PCB. In the picture to the right, you can clearly see the trace connected to pin 4 of TL494 was cut. In the picture the lead of the 15K resistor seemed to be nearly touching pin 2 of the chip, this is due to the angle of how this picture was taken. In reality the lead is pretty far from that pin. If you are worried about accidentally shorting out the pins, you can use some heatshrink tubing here.
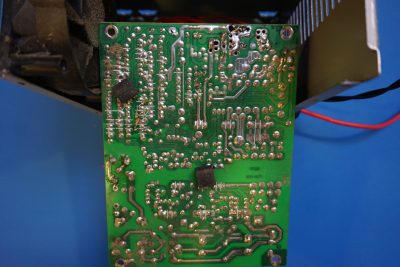
|
|
To prevent battery backfeeding into the power supply when it is powered off, I added a Schottky diode (the two diodes in the same package are paralleled together) at the output.
Here is a short video explaining this power supply modification.
