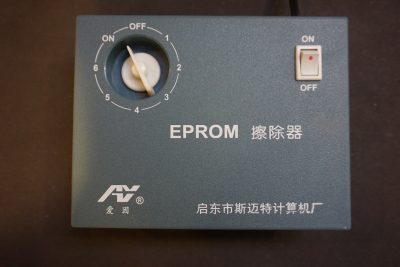
Till recently, I have been using custom circuitry whenever I needed to backup some firmware. But the process was rather tedious as for each kind of EPROM or EEPROM I needed to study the protocol and timing requirements and then come up with the required circuitry on a breadboard. And wiring can easily become an issue with a high pin-count chip. So I finally got myself a proper EPROM programmer (it’s a TL866A) along with a $15 generic UV EPROM eraser so I could program EPROM/EEPROM’s quickly. While it was fun to build a programmer circuit each time, I think the effort can be put into something more useful.
Quite a few people have done teardowns of this kind of EPROM erasers before (see here and here). While it is cheaply built, it gets the job done. To my surprise though, this UV eraser consumes less than 2W of power during operation. Judging from this, the quartz UV tube used inside is probably just rated at slightly above 1W.
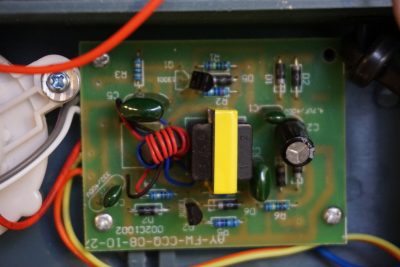
The ballast circuit board (see picture below) for the UV tube looks identical to the ones linked above, so the design of this UV eraser has not changed over the years. From the components used (two MJE13001‘s and a DIAC, the circuit appears to be similar to the one used in some compact fluorescent bulbs.
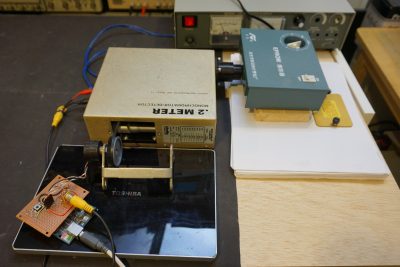
Since there is no marking on the UV tube, I decided to use a scanning monochromator to take a look at the spectrum emitted from this tube. The picture below shows the setup for the spectrum measurement. The UV light is coupled into the monochromator via the hole in the component drawer.
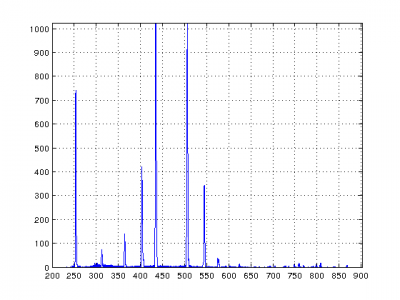
And here is the spectrum of the UV tube, which is somewhat consistent with the spectrum of a mercury lamp. Only a very small portion of the energy is concentrated at the 250nm range, the wavelength which is responsible for erasing the chip.
Here is a short video of this teardown.


