I bought a Wavetek 1045 RF power meter off eBay a few weeks ago. It came with a 13787 detector which is capable of measuring RF power between -50 dBm to 10 dBm with a frequency range of 1 MHz to 18 GHz.
Compared to the ubiquitous HP 436A, which I did a teardown of a while ago, the Wavetek 1045 was from roughly the same era (late 70’s to late 80’s). Although this unit was made in the late 1980s which is about 5 years later than the manufacture date of my HP 436A.
Unlike the 436A, which uses a thermal couple as the sensing element in the RF power head, the Wavetek 1045 uses a Schottky diode based design. The 13787 detector is a single diode detector. There are also balanced (dual diode) detectors available (e.g. 15177), which offer 6 dB higher dynamic range and better measurement accuracy.
Similar to the 436A, Wavetek 1045 also utilizes a chopper stabilized front end in order to reduce noise and thermal drift. The chopper operates at about 1 kHz.
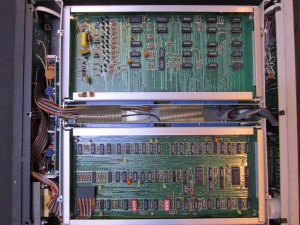
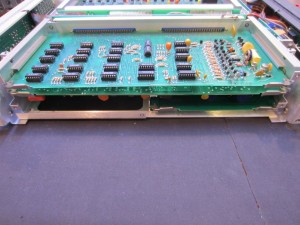
Like many test equipment in the same era, Wavetek 1045 utilizes a modular design with different plug-in boards. This design makes servicing relatively easy. The picture on the left below shows the internal layout with the top cover removed. While the design is modular, the side panels must be removed before each individual board can be taken out.
|
|
All boards are double sided and components are mounted on a single side only (common practice for through hole components placement). After removing the side panel, each board can be taken out by pulling the two tabs on the board. The two boards that are visible from the top are the control board (A1) and the IEEE interface board (A11).
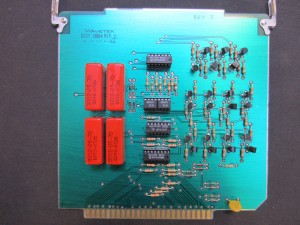
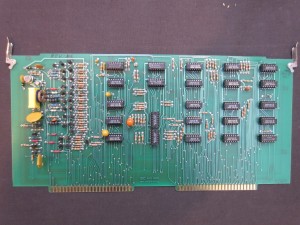
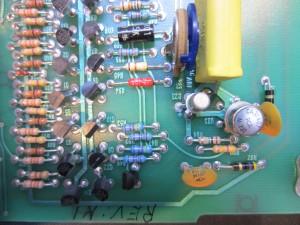
Here is a picture of the control board A1. In the picture on the right, you can see the guard trace around the input of the OpAmp CA3140. The guard trace is needed as CA3140 has extremely high input impedance (1.5 TΩ). The integration density is pretty low and most logic chips are 74 series.
|
|
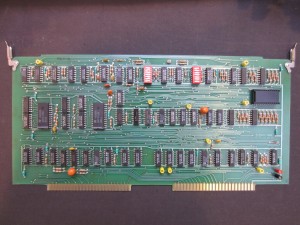
The picture below shows the IEEE interface board (A11). If you look carefully, you will notice that this board is slightly different compared to all the other boards in that all the ICs are soldered directly onto the board. (Not sure why though, perhaps it was manufactured at a later date?)
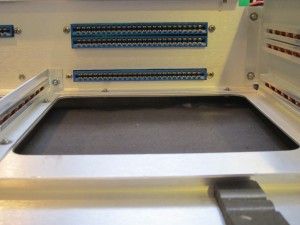
Here is a picture showing the board to board connecting sockets on the middle interface board with all the plugin boards removed.
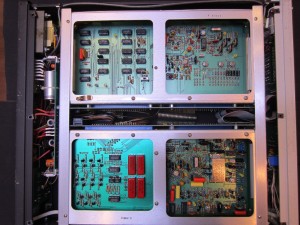
The picture below shows the underside of the circuit with the bottom cover removed. The three boards visible from the bottom are the display logic board (A3), multi-detector board (A 12) and analog board (A2).
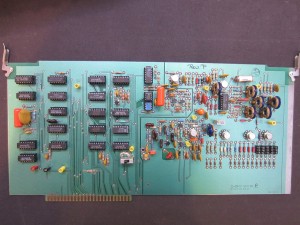
This is the A3 display logic and calibrator board. The chip sharing the same 14 PDIP socket with the blue 4N27 optocoupler in middle is an NE555 timer chip.
Wavetek 1045 can multiplex among four detector sensors, each detector can be addressed individually via the A12 multi-detector board below:
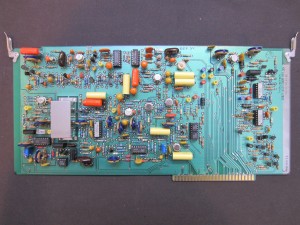
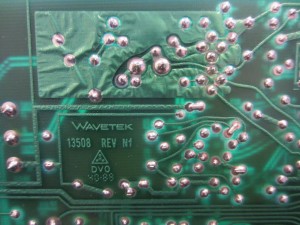
The picture to the left below shows the analog board (A2). The metal can you see in the picture is an oven, which is heated to 60 °C during operation via a power transistor. The oven is needed to generate compensation signal to correct the detector sensitivity shift due to temperature changes. The picture on the right shows the reverse side of the PCB. The reason you see the “bumps” under the solder mask is because the solder mask layer was added after the board was tin plated. This is quite common in boards manufactured in the 80’s.
|
|
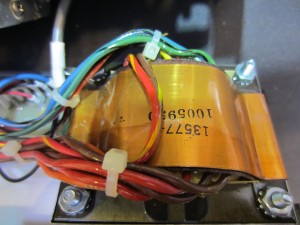
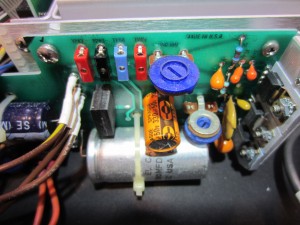
In the pictures below, you can see the shielded power transformer and the power regulator board. There is a color-coded test connector for each power rail.
|
|
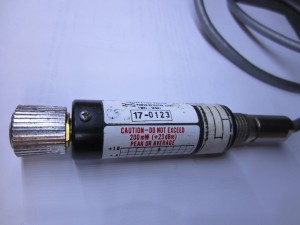
Here is a picture of the 13787 diode detector. There is no active circuitry inside. The detector module contains only a detector diode, a resistor and a thermistor used in conjunction with the compensation circuitry to ensure accurate measurements across a wide temperature range. The reason these detectors are so expensive (even used ones) is that they have very tight dimensional tolerance and each sensor must be hand characterized with different calibration constants.
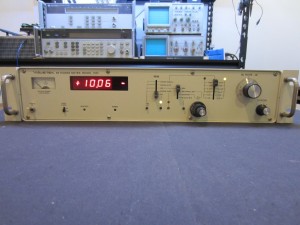
Finally, here is a picture showing the power sensor measuring its own reference 10 dBm signal output:
