Last time, I did a teardown of an HP 5350B microwave counter. And as I mentioned in my teardown, the oven-controlled crystal oscillator (OCXO) did not appear to be working as the OVEN indicator would not go off even after hours of use but the counter appeared fully functional otherwise. So I decided to disassemble the crystal oven and see if this problem can be fixed.
Before taking the OCXO apart, I measured the initial standby power consumption of the counter and the power consumption right after a cold start. Then I waited for half an hour and measured the power consumption again. When in standby the power draw was a constant 5W and for the power on duration, the measured power stayed at around 27W and did not change. This indicates that either the heating elements or the heating control is at fault as during the warm up period the oven itself should draw around 10 to 15W of power. Once the oven reaches the preset temperature threshold the power consumption should decrease as the only power needed is to maintain the temperature.
To further confirm the problem, I took off the top cover of the instrument and touched the OCXO with my hand after it had been powered on for more than half an hour. The metal case felt cold (room temperature). Typically, The oven controlled oscillator inside HP 5350B operates at around 80 °C to 85 °C. So even with a thick layer of insulation material, the case temperature should be higher than the ambient temperature.
So it appears to be a problem in either the heating units themselves or the oven control circuitry.
As mentioned in my previous post, the crystal oven is plugged into a socket and further secured onto the motherboard via two screws. To remove the OCXO, I first removed the bottom cover of the HP 5350B and then unscrewed the two screws holding down the OCXO.
Here are a couple of pictures of the OCXO. Look at how shinny those gold-plated PCB contacts are!
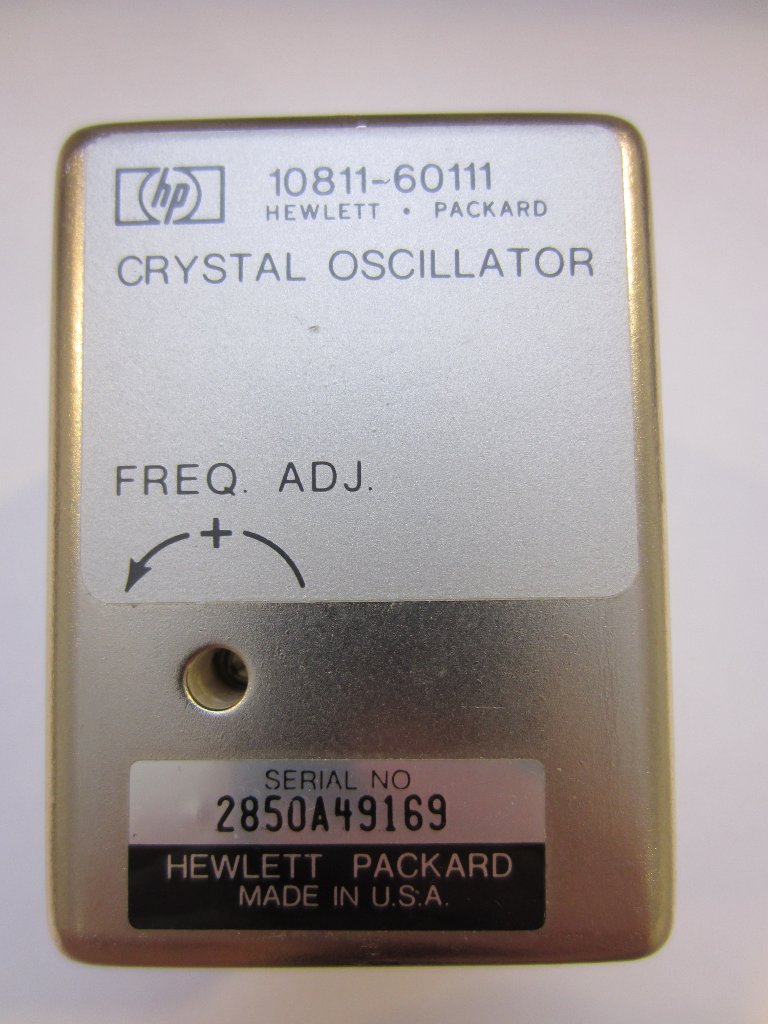
|
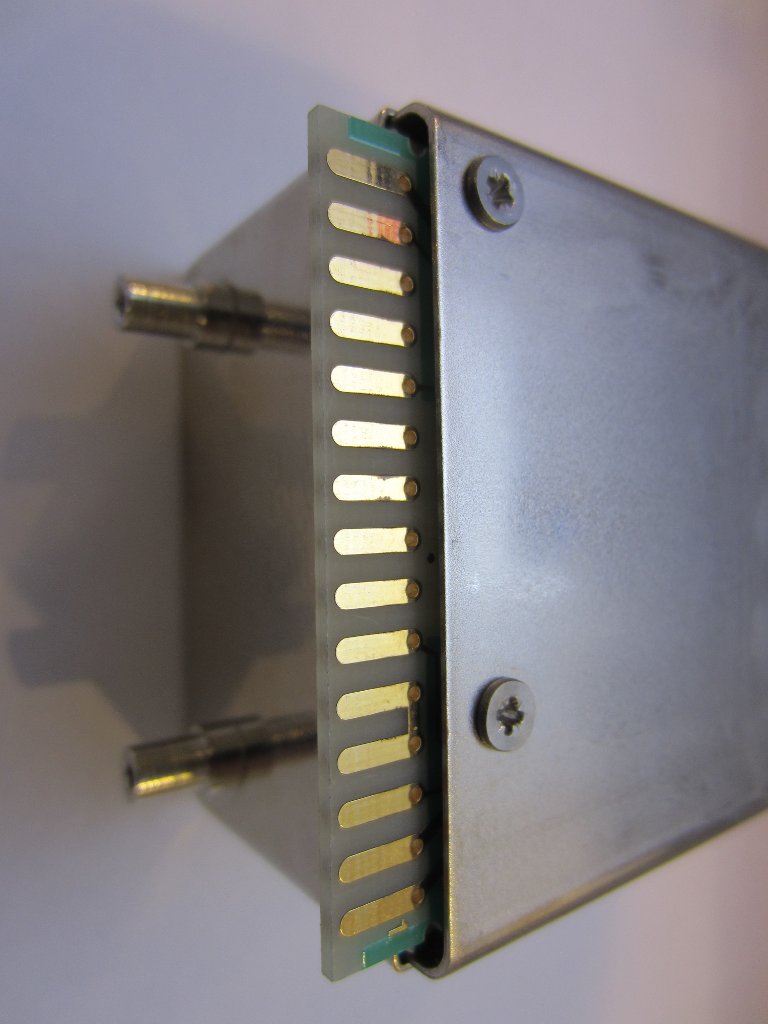
|
According to the service manual, pin 14 and pin 15 are the oven power supply (pin 14 is positive). Measuring the resistance between these two pins indicated there was an open circuit inside.
The 15-pin board connector can be freed by removing two screws on the side. The thermal fuse can be partially seen in the picture on the left below (the green resistor like component to the left of the ribbon cable). Since the resistance measurement between the oven power supply pins suggests an open circuit, there is a high probability that the thermal fuse could be blown.
The OCXO is easily serviceable. After removing the bottom cover and a piece of heat insulation foam, you can see the the controller board (the oscillator is mounted near the center of the oven within the oven mass).
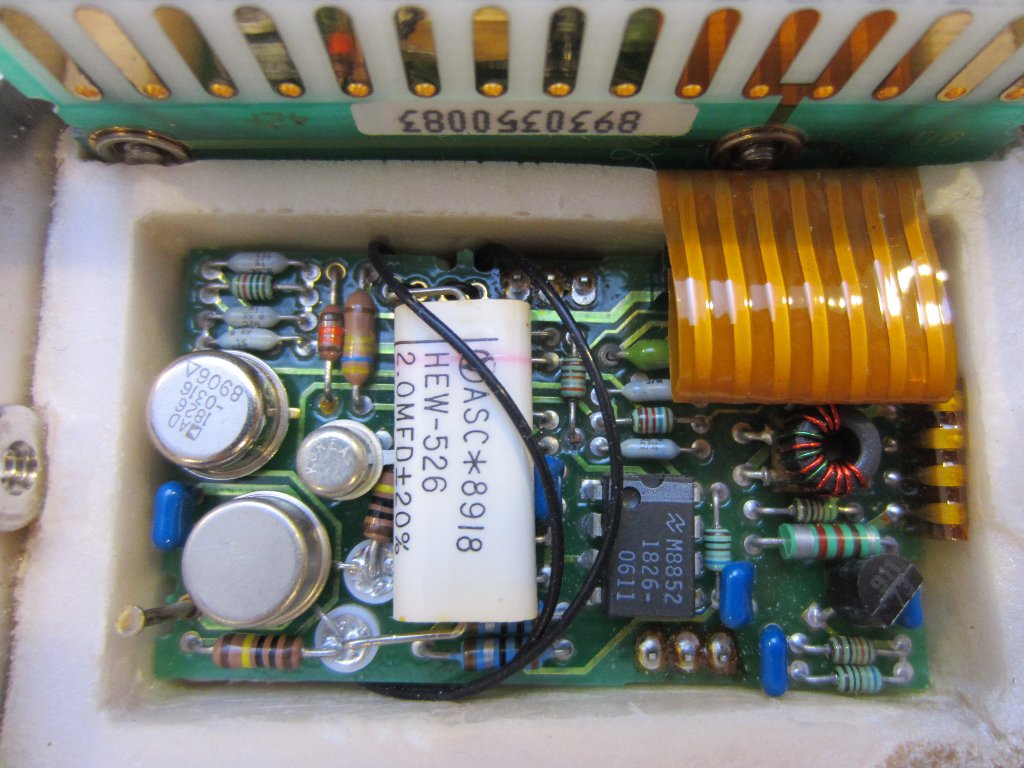
|
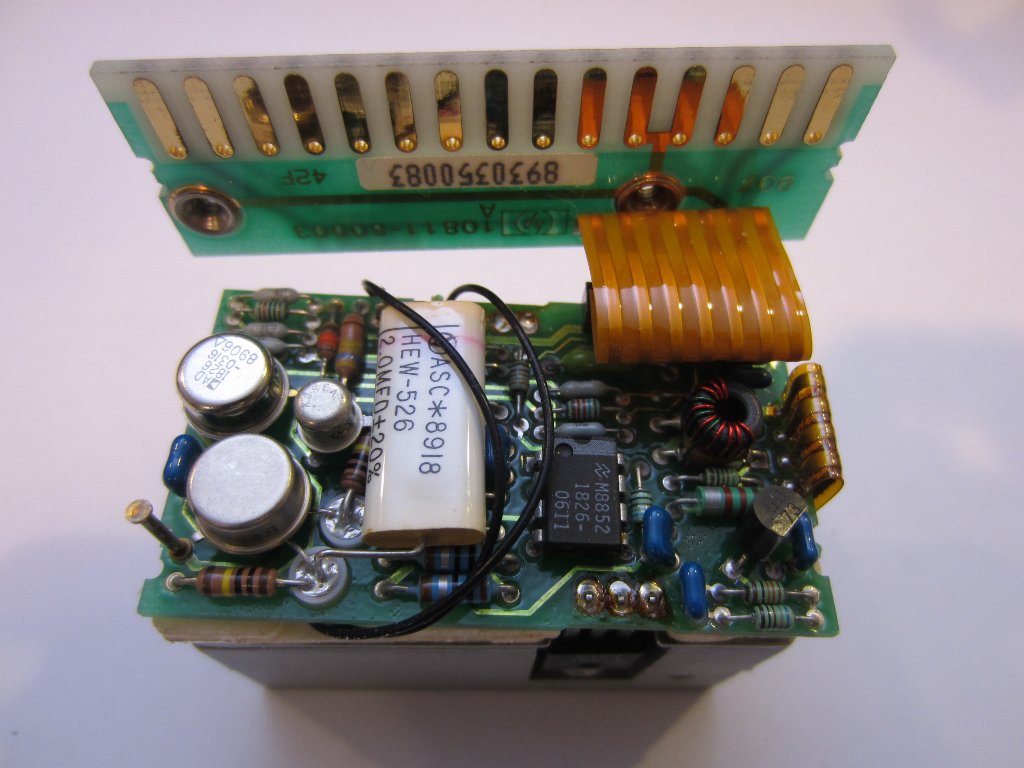
|
| [adsense] |
Here are a couple of pictures of the heating elements. These are Darlington transistors, one on each side of the oven mass. I used similar technique — using MOSFET as heating element — when characterizing thermistors before.
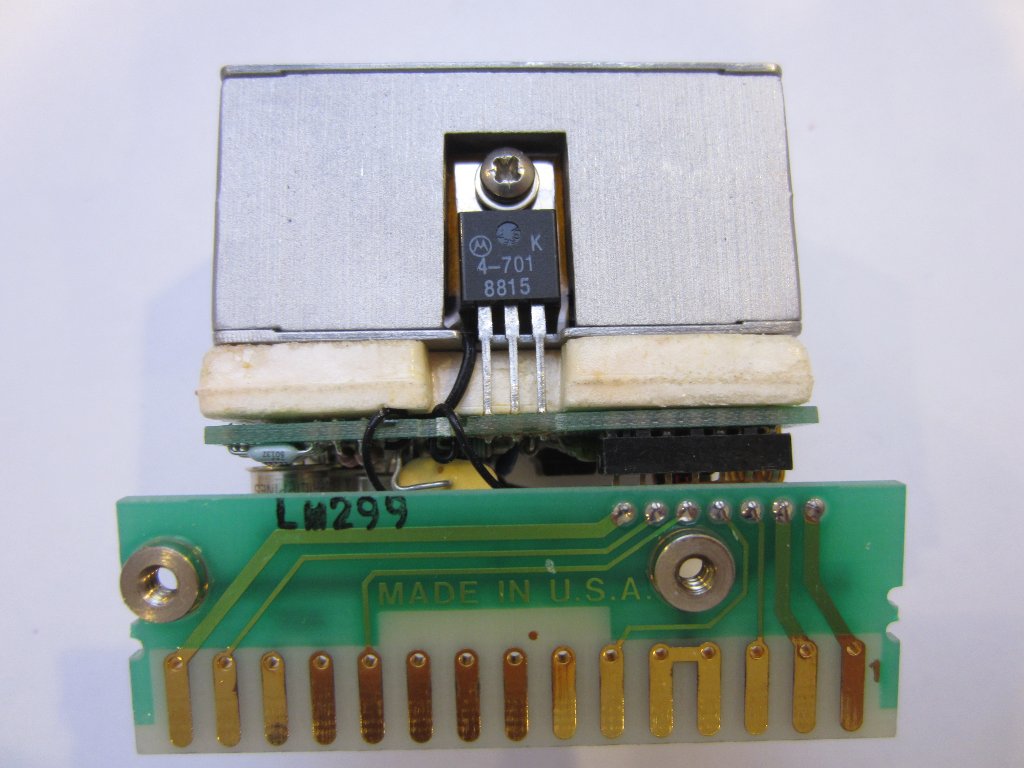
|
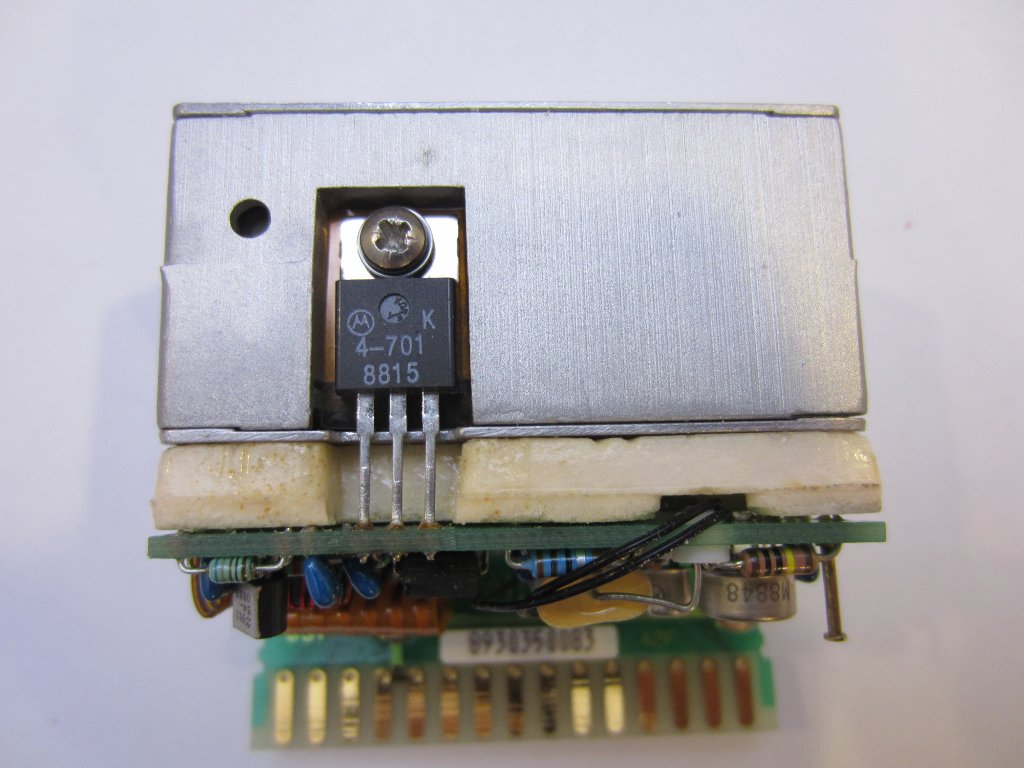
|
The picture on the left below is the top side PCB of the oven assembly after removing the oven mass from the insulation foam casing. In the picture to the right, you can see the thermal fuse (green) right above the ribbon cable connector.
And sure enough, the thermal fuse is open. Everything else, including the Darlington transistors seem to be just fine. At the first glance, it appeared that the solder joints of the thermal fuse were dry. But after closer examination, it turned out that this wasn’t the case. Unlike other components which were soldered directly onto the board, the thermal fuse was soldered into two tin-solder cups — presumably for easy replacement (I have seen this technique in my HP 6181C teardown).
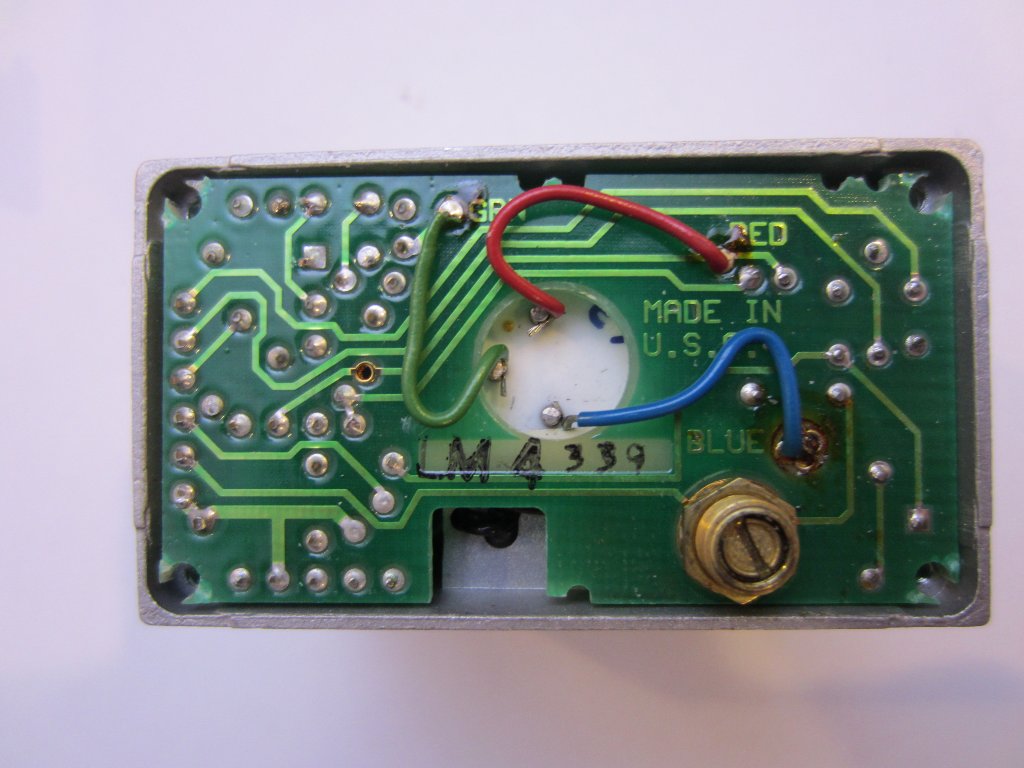
|
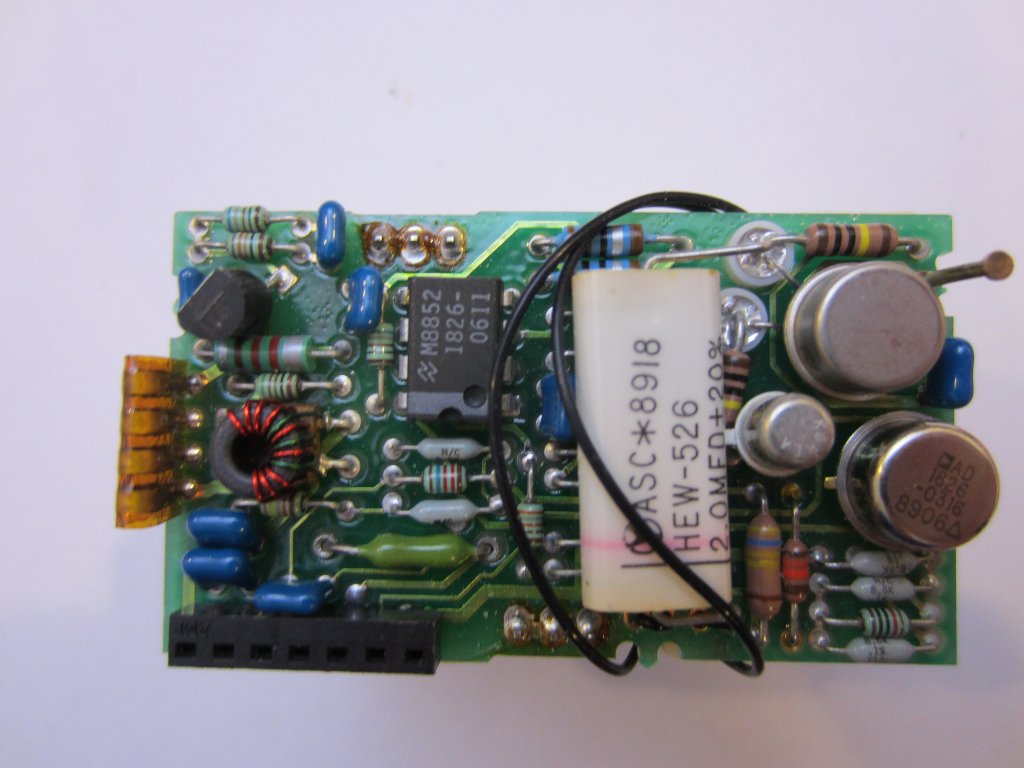
|
I didn’t have a comparable thermal fuse on hand, so I followed the service manual’s suggestion and temporarily put a jumper in place. A quick test showed that the oven drew roughly 500mA when pin 14 and pin 15 are connected to a 24V power supply (current limited to 600mA), and after a couple of seconds the transistors were warm.
The picture to the left below shows the controller board after my quick fix, and the one on the right shows the failed thermal fuse.
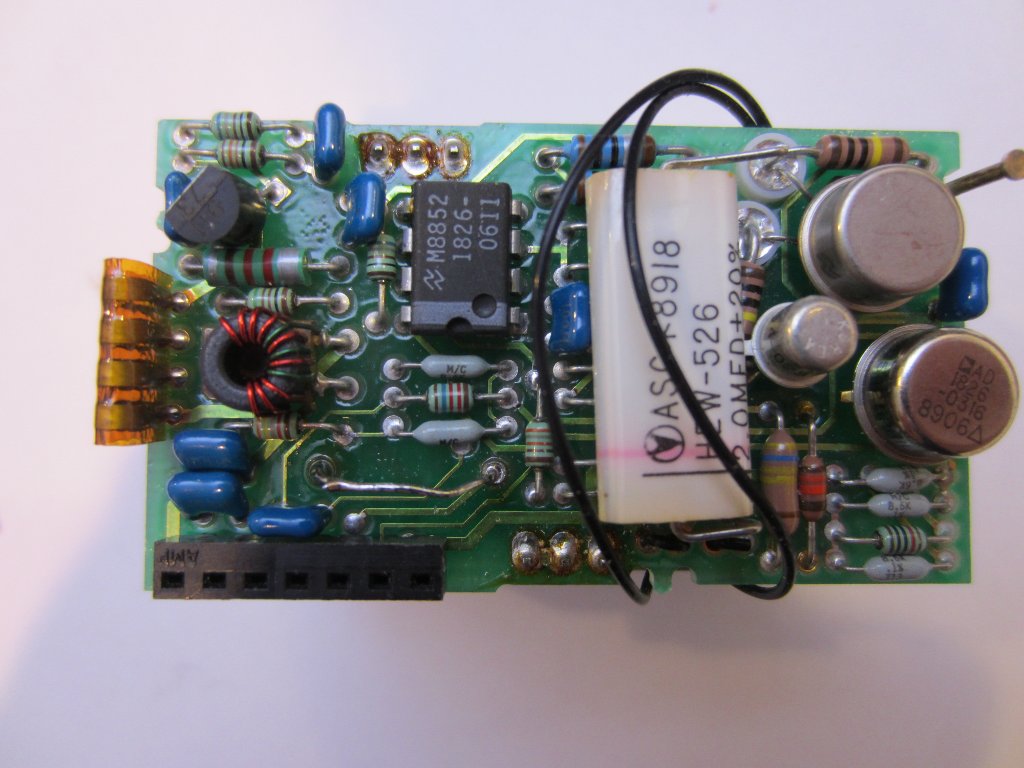
|
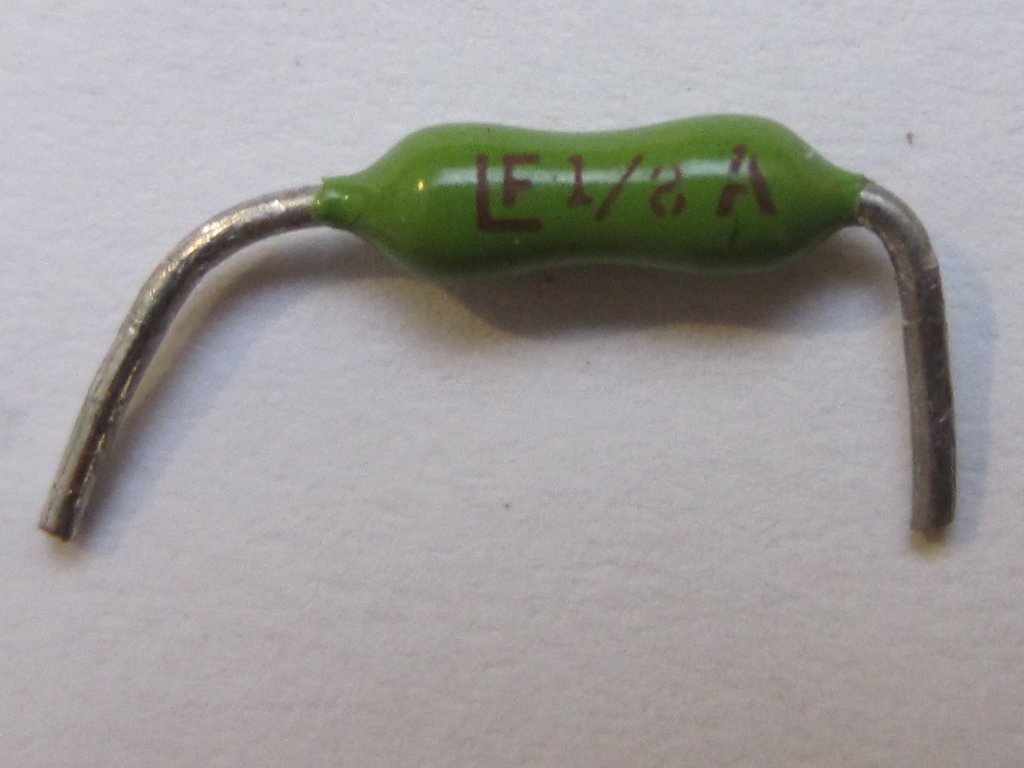
|
Now, my HP 5350B seems to be fully functional after this fix. At power on it draws around 45W and after five minutes, the OVEN indicator would turn off and then the power draw would stablize at around 33W.
Update
Quite a few people had pointed out that the fuse was probably just a plain-old 0.125 A fuse. But curiously enough, the service manual does refer to it as a thermal fuse.

