I wrote a tutorial on how to setup WordPress on Ubuntu Server back in 2007. While the setup steps have largely remained the same from version 6.10 to 8.04 (both are long term support LTS versions), I decided to create an other guide focusing on the setup processes with Ubuntu Server 8.04. The setup steps are actually a bit easier in 8.04 as Samba has been fully integrated into the initial setup process. I have also included some screen shots from the text-mode Ubuntu Server setup so that newbies would find the task of setting up the server less daunting.
1. Ubuntu Server Setup
The following screen shots are taken while installing Ubuntu Server 8.04 (note the latest Ubuntu Server Edition is 8.04.2)
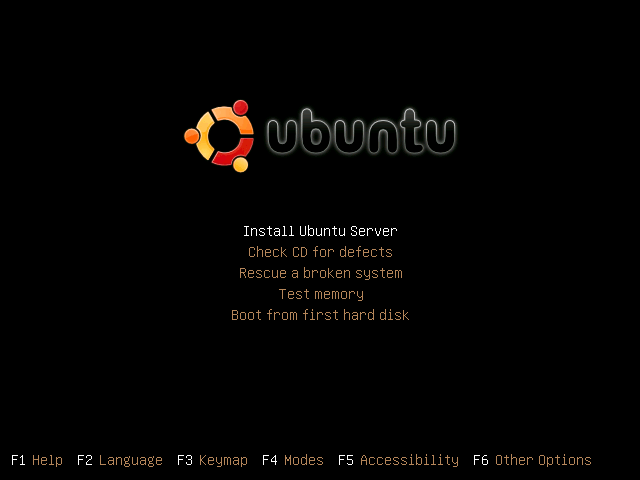
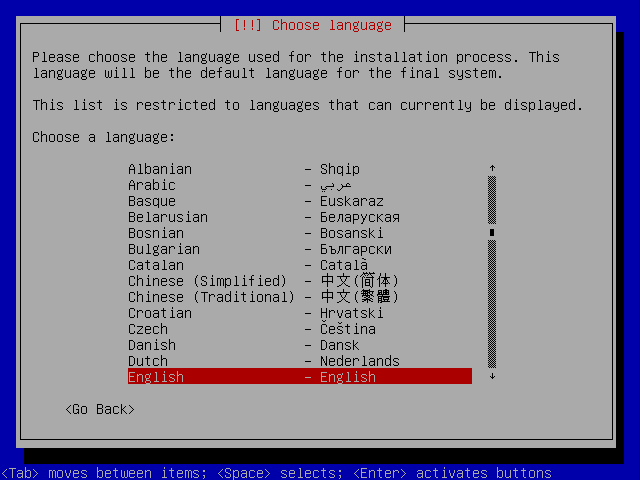
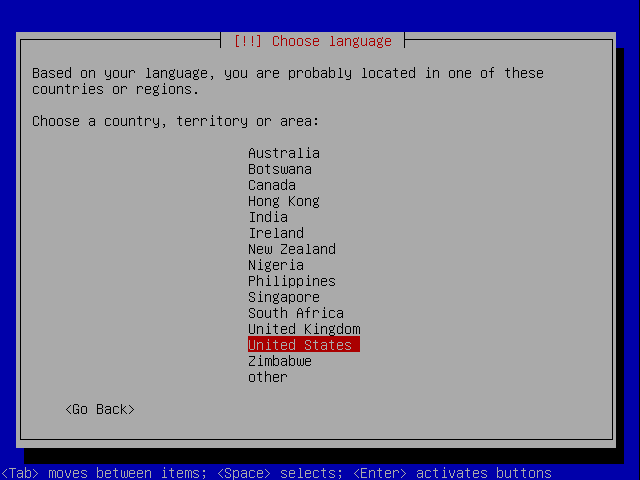
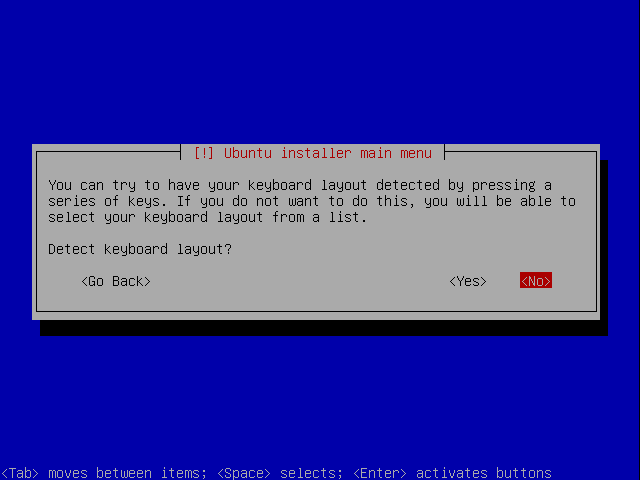
While the default choice is Yes (Detect keyboard layout), I have found that that for the keyboards used here in the US, skipping the auto-detection step is actually easier.
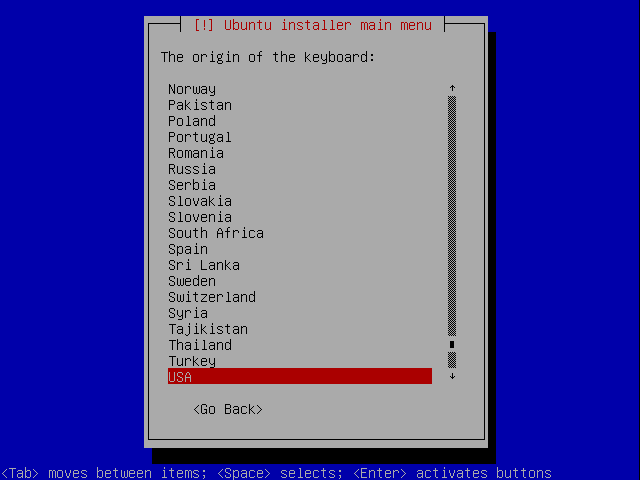
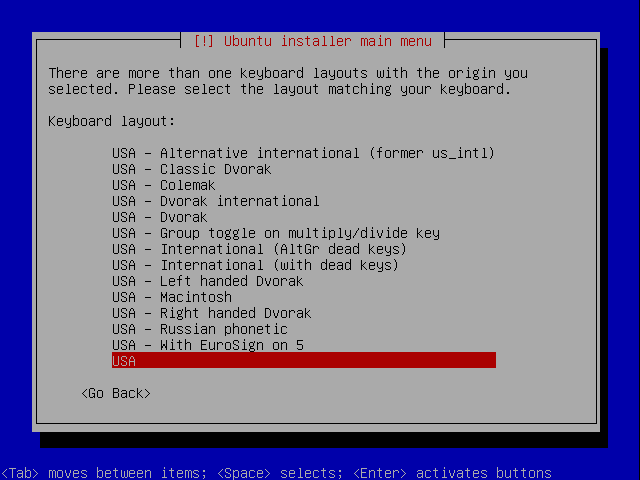
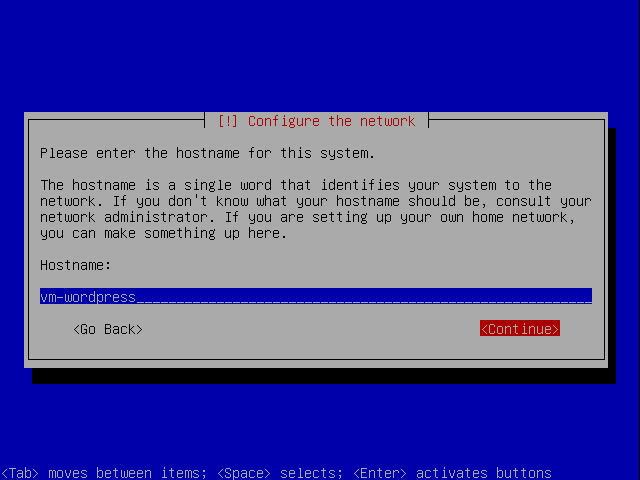
This is the host name you want to use. For whatever reason, the default Ubuntu Server setting does not set the host-name correctly using DHCP (for instance, you can not use vm-wordpress to locate the server from a Windows machine). This can be addressed easily by ensuring that the following lines are present in /etc/dhcp3/dhclient.conf:
send host-name "<hostname>";
request subnet-mask, broadcast-address, time-offset, routers, domain-name, domain-name-servers, host-name, ntp-servers;
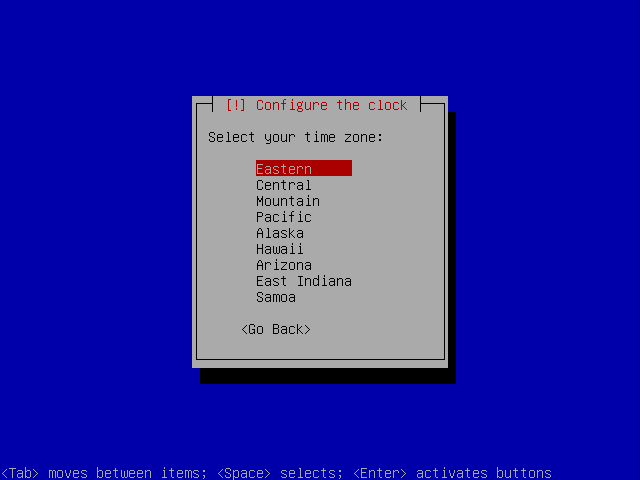
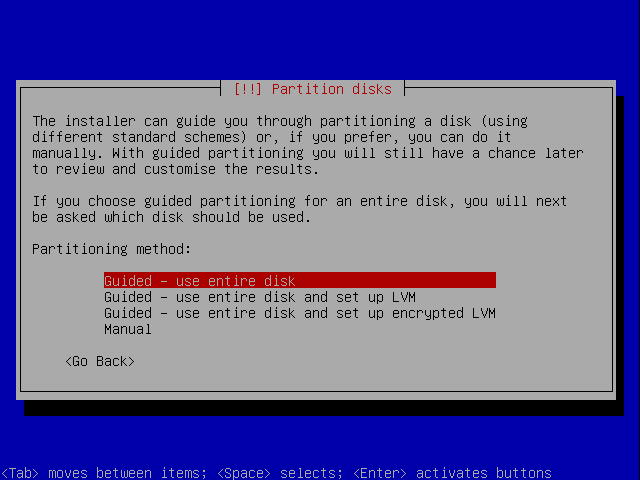
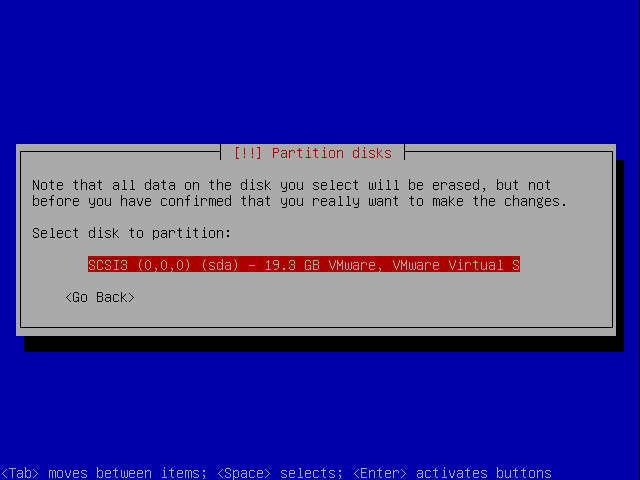
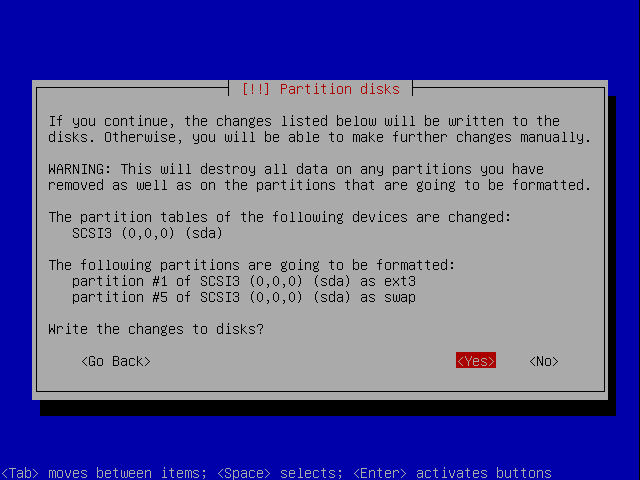
For a dedicated server, the default partitioning scheme (use entire disk) should be suffice.
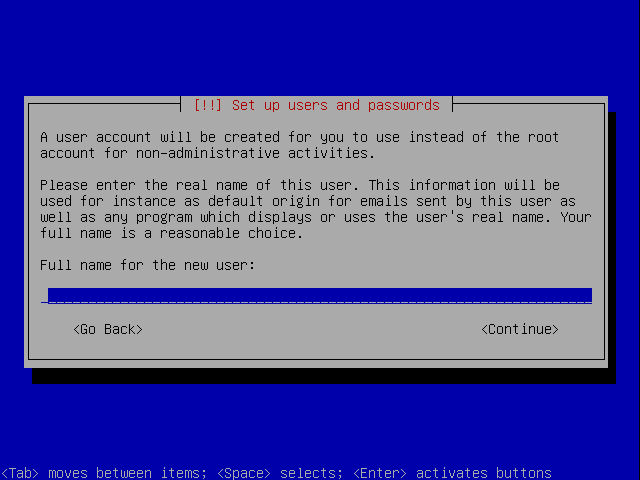
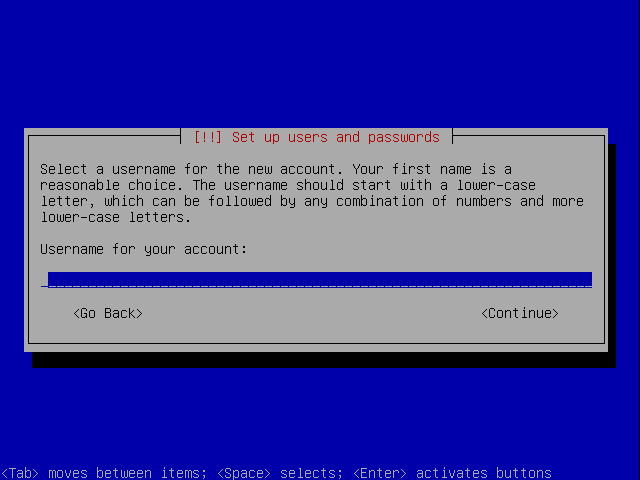
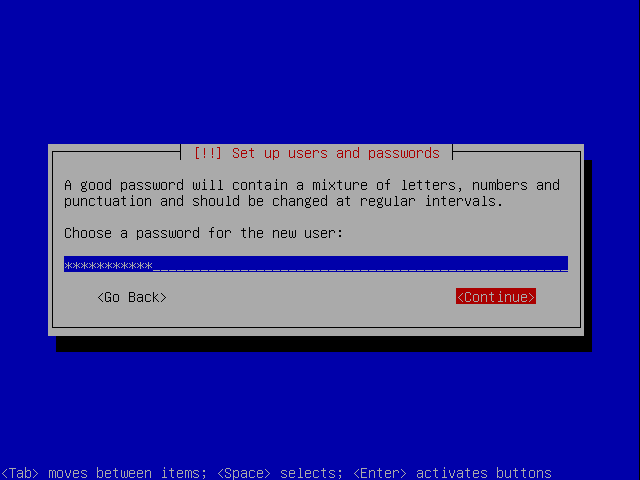
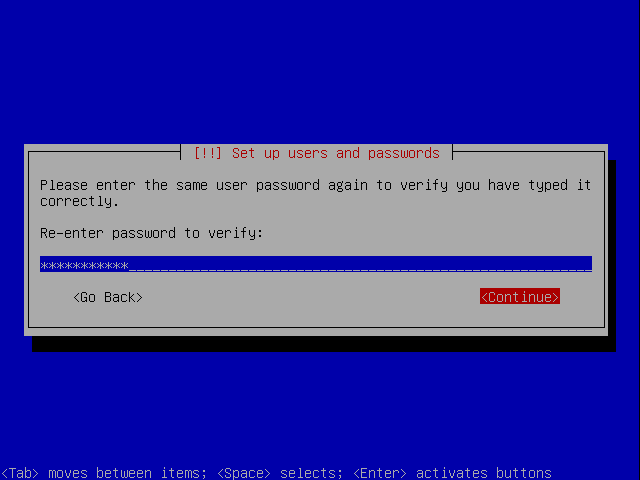
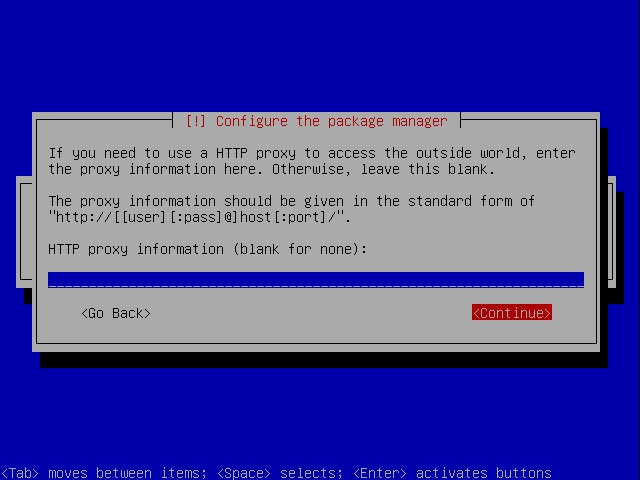
If you are setting it up on your home computer, this is usually blank.
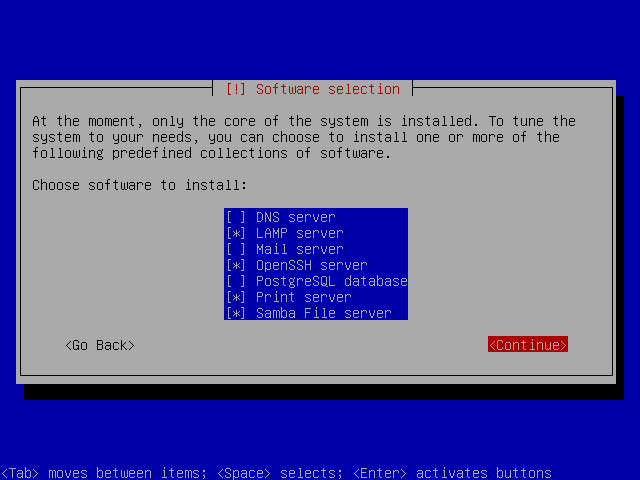
For the WordPress server setup LAMP and OpenSSH are the only required components. However, I usually add the Print Server (CUPS) so that the whole home network can share the printer on the WordPress server (since it is always on) and Samba File Server so that I can copy files from a Windows machine.
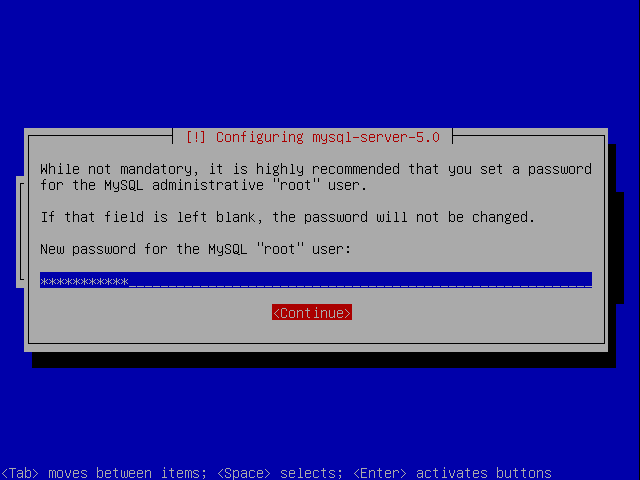
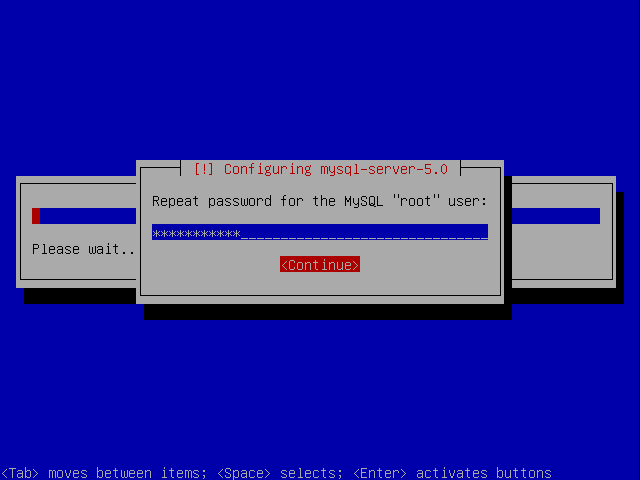
Don’t confuse MySQL root user password with the Ubuntu login password. They can be the same but it is recommended that you use a different strong password for each.
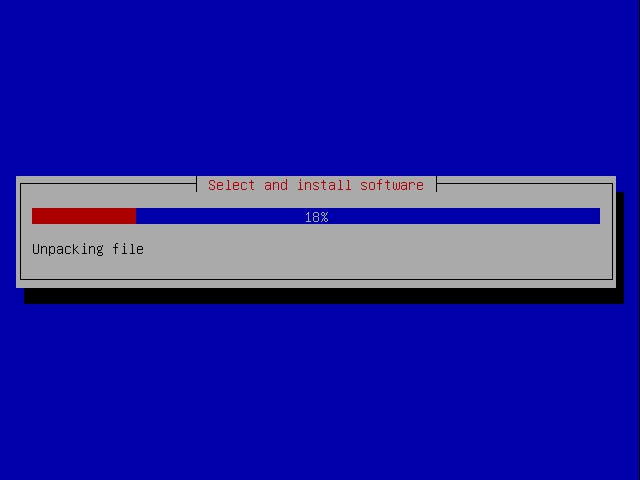
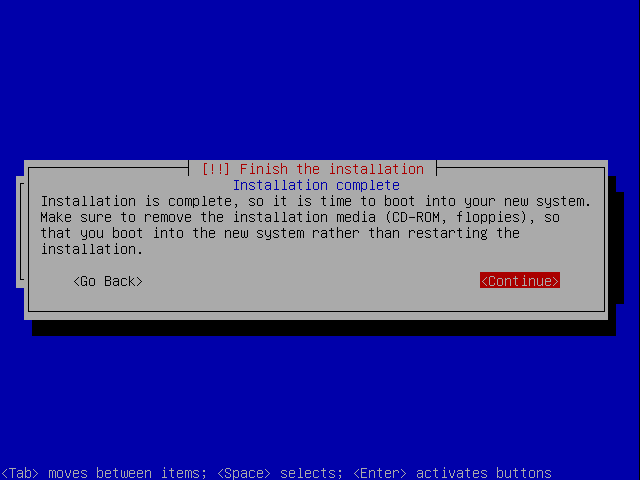
We are almost done!
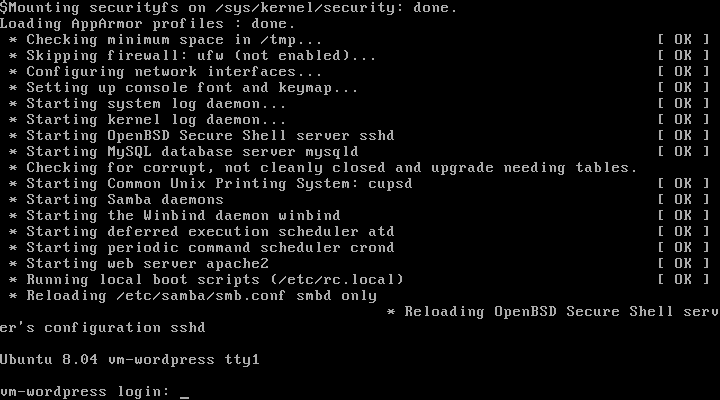
If everything goes well, you should be greeted with this login screen after your machine is re-booted.
As a best practice, you should always ensure that your distribution is up-to-date by getting the latest patches/software:
This can be achieved by issuing the following commands upon log in:
A reboot maybe necessary if kernel image is updated.
2. Create Samba Share
We have already installed Samba during the Ubuntu Server install. To use it we need to first configure it properly.
sudo vi /etc/samba/smb.conf
at the end add the following section:
Now we can add a user for Samba share:
After Samba is configured, you should be able to see it via smb://vm-wordpress/sambaroot/ (using the user name and password you just added) in Linux or \\vm-wordpress\sambaroot\ in Windows.
3. Install WordPress
In your user directory (e.g. /home/{user name}):
4. Configure Database
mysql> create database wordpress;
mysql> grant all privileges on wordpress.* to "wpuser"@"localhost" identified by "password";
mysql> flush privileges;
mysql> exit
In my previous tutorial, I used phpMyAdmin as the SQL tool. While it is much easier to use then the mysql command line, it nevertheless adds some risk if you allow database logins remotely. So I would not recommand installing it on the production server.
5. Configure WordPress
Edit the content of wp-config.php:
Since our WordPress installation is located in the blog directory, the default url will be http://yourdomain/blog/. If you want your blog to be accessible from the root (e.g. http://yourdomain/) you will need to modify /var/www/blog/index.php.
First copy it to www root:
And change the require() line to point to the new path: require(‘blog/wp-blog-header.php’).
a. for new setup
Run the setup script at http://yourdomain/blog/wp-admin/install.php
After running the installation script, we want to make sure that our blog is pointed at the correct location. go to http://yourdomain/blog/wp-adming/, select options. In General Options section, you will see one line like "WordPress address (URL)" and another line like "Blog address (URL)". This is the place where you specify how your blog main url looks to the outside world. If you want your blog to appear as http://yourdomain/ then make sure WordPress address is pointed to http://yourdomain/blog and Blog address is pointed to http://yourdomain. If you want your blog to appear as http://yourdomain/blog/ then make sure both entries are the same (http://yourdomain/blog/).
Now the installation of WordPress is complete.
If you need URL rewrite capability, you will need to load the URL rewrite module:
b. for existing setup (restoring a previously backed-up database)
For a detailed discussing on how to perform backup/restore on MySQL database, please refer to this article.
If you need to access the MySQL database from another machine that is on the LAN, you will want to change /etc/mysql/my.cnf and modify the bind-address to the server address, you can read more here.
I omitted some content which are less commonly used in this article. You can refer to my previous tutorial for more information.

